C Install
Kryon Adapter and Tube Installation Guide

Tools & Equipment Used
Acetone
Brush (Metal bristle)
Cotton swab
Shims
Blue tape
Rocksett
3/4" wrench
Barrel extension vise tool
Suppressor alignment rod
Breaker bar
Torque wrench

Installation Steps
Safety Precaution
Following the manufacturer’s instructions, ensure the firearm is unloaded. Visually inspect and physically confirm that the chamber is clear before proceeding

Secure the Barrel Extension
Place the barrel extension tool in a sturdy vise and tighten securely to prevent movement during installation.

Remove Existing Components
Refer to the host weapon’s user manual and carefully remove the existing flash hider, muzzle brake, spacers, shims, and/or washers from the firearm .
Do not reuse the removed shims, spacers, or washers.

Clean Host Firearm Muzzle Threads
Use a brass brush to thoroughly remove any debris and residue from host firearms muzzle threads.

Degrease Muzzle Threads
Apply acetone or a degreaser to the muzzle threads of the host firearms barrel.

Clean Q.D. Muzzle Suppressor Adapter Threads
Use a brass brush to thoroughly remove any debris and residue from Q.D. muzzle suppressor adapter threads.

Final Cleaning of Adapter Threads
Additionally, use a cotton swab with acetone or degreaser to clean the internal threads of the adapter. Ensure all surfaces are completely dry and free of contaminants, as Rocksett will not adhere properly if any residue remains.

Dry Fit Installation
Slide the Kryon C Adapter over the barrel threads, ensuring the adapter rests securely against the barrel shoulder.

Install QD Muzzle Device
Next, screw the degreased QD muzzle device onto the barrel threads.
Apply shims to the host firearm’s barrel threads as needed to achieve desired orientation of the Q.D. muzzle device.

Check Orientation of Muzzle Device
Take note of the orientation of the torqued QD muzzle device once it is fully seated.
If you wish to adjust the orientation, refer to the QD muzzle device manual for guidance and apply the appropriate number of shims to the barrel threads to achieve the desired alignment.

Apply Proper Torque
Using the wrench flats on the QD Adapter, apply torque to fully seat the muzzle device against the barrel shoulder.
Refer to the QD device manufacturer’s guidelines for the appropriate torque value to ensure proper installation.
To ensure accurate torque application, use a torque wrench with an open-ended crow’s foot or a specialized tool designed for this purpose.

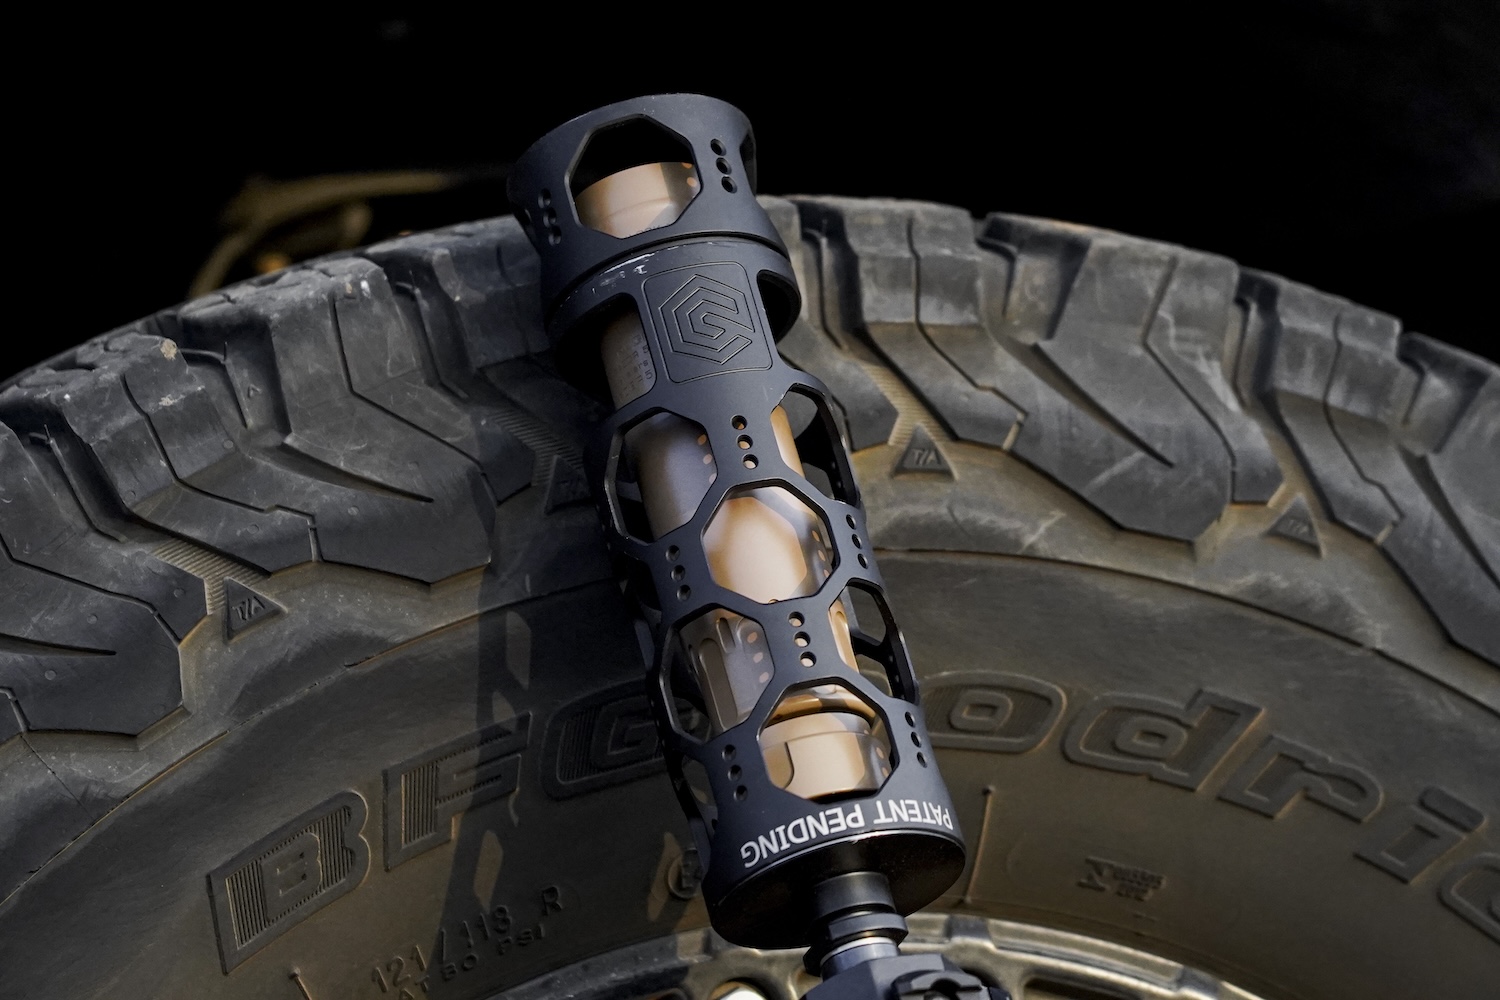
Install Kryon Shroud
Thread the Kryon shroud onto the C Adapter, noting the orientation of the access ports relative to the 12 o’clock position when viewed from above.
If you would like to adjust this orientation, take note of the desired position and mark the C Adapter accordingly (we recommend using blue painter’s tape for this).

Remove QD Adapter
Once alignment is confirmed, carefully remove the QD adapter from the barrel for final preparation.

Rotate C Adapter
Rotate the Kryon C Adapter, using the blue tape reference mark as a guide, to achieve the desired orientation.

Reinstall QD Muzzle Device with Rocksett
Reinstall the shims (if applicable) onto the barrel threads. Apply Rocksett to the degreased barrel threads, then thread the degreased QD muzzle device onto the barrel.
While installing the QD muzzle device, hold the Kryon C Adapter in place to maintain its correct orientation.

Clean Host Firearm Muzzle Threads
Refer to the QD device manufacturer’s guidelines for the appropriate torque value to ensure proper installation.
Allow the Rocksett to cure for 24 hours before firing the host weapon to ensure a secure and stable bond.

Install QD Suppressor
Take your QD suppressor, carefully install the suppressor into the QD adapter and fully seat it.

Confirm Shroud Alignment
Install the Kryon shroud and confirm that the desired orientation of the access port cutout on the shroud is properly aligned.

Check Suppressor Alignment
Once installed, check for proper alignment using an alignment rod. If the alignment is correct, the suppressor is ready for use.
Allow the Rocksett to cure for 24 hours before firing the host weapon to ensure a secure and stable bond.

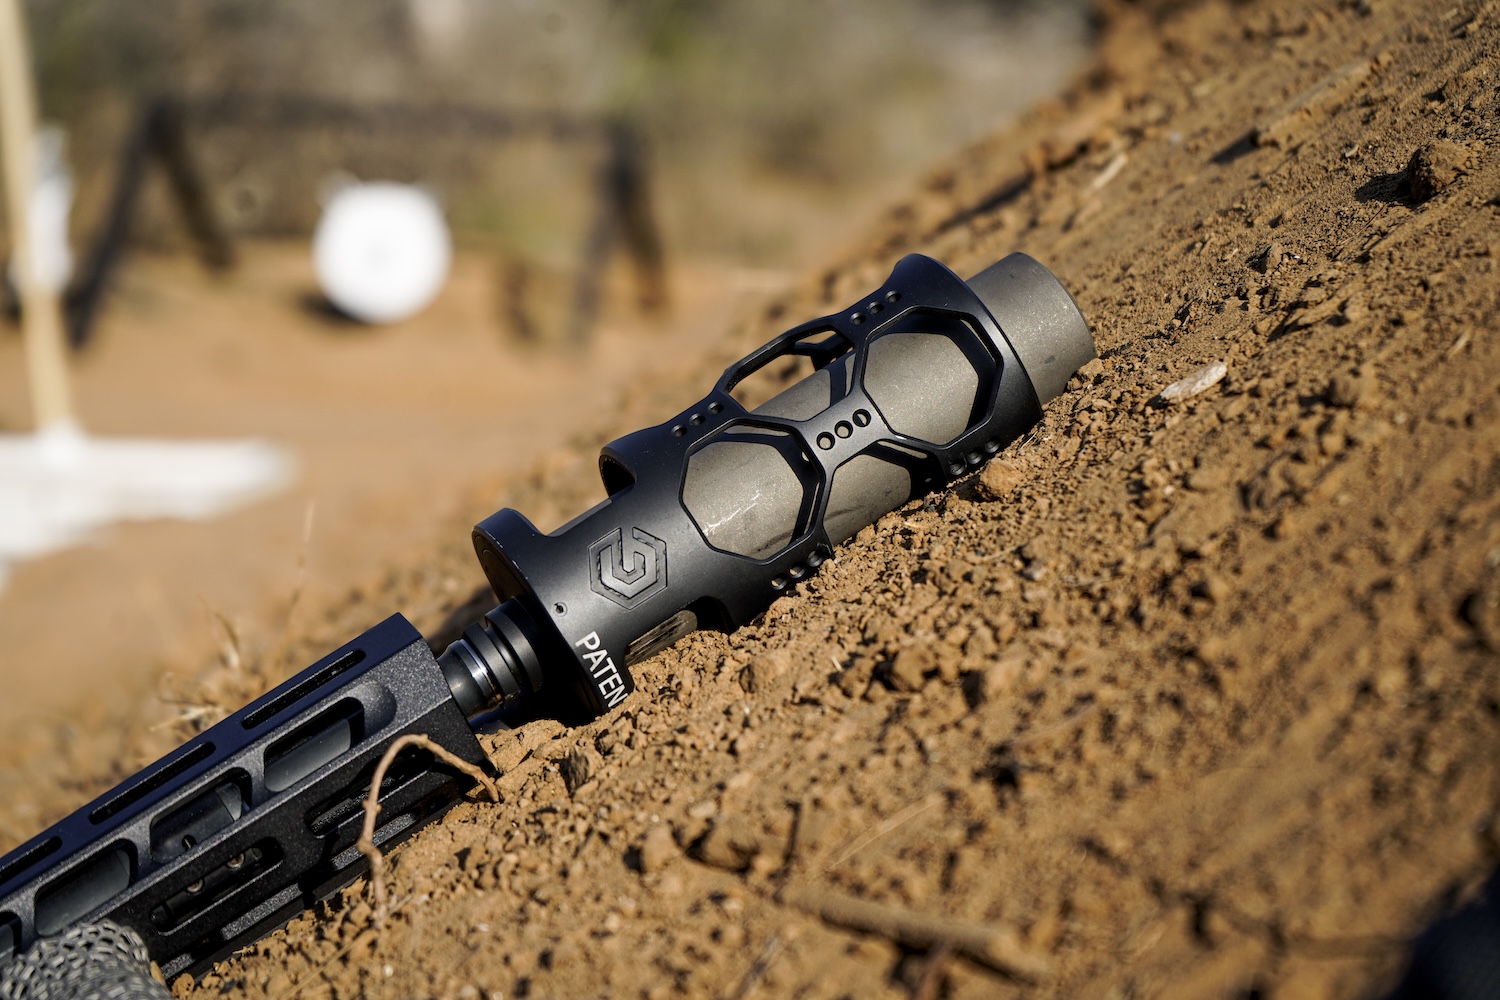
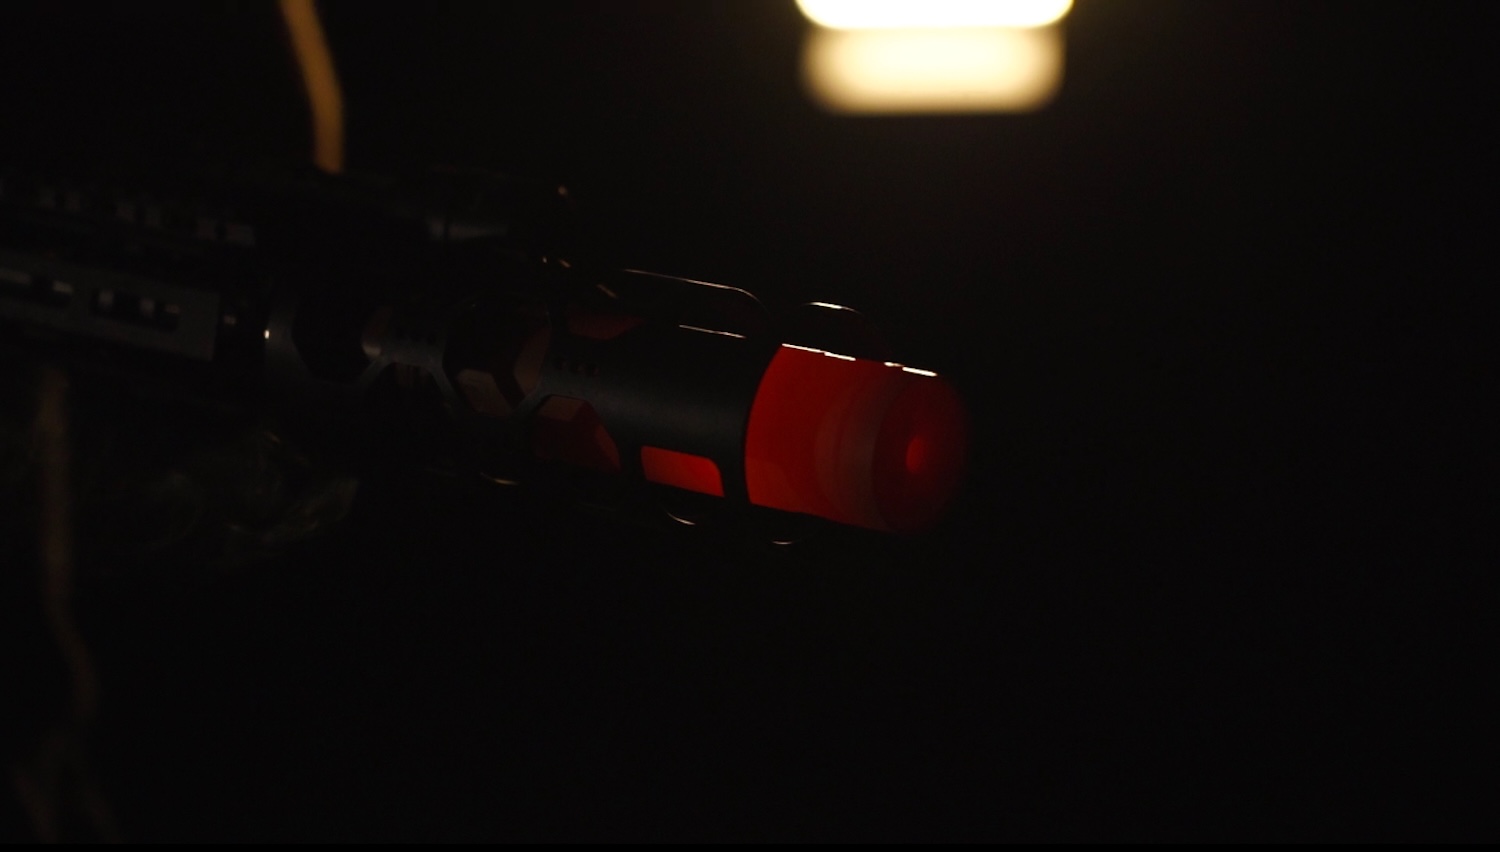
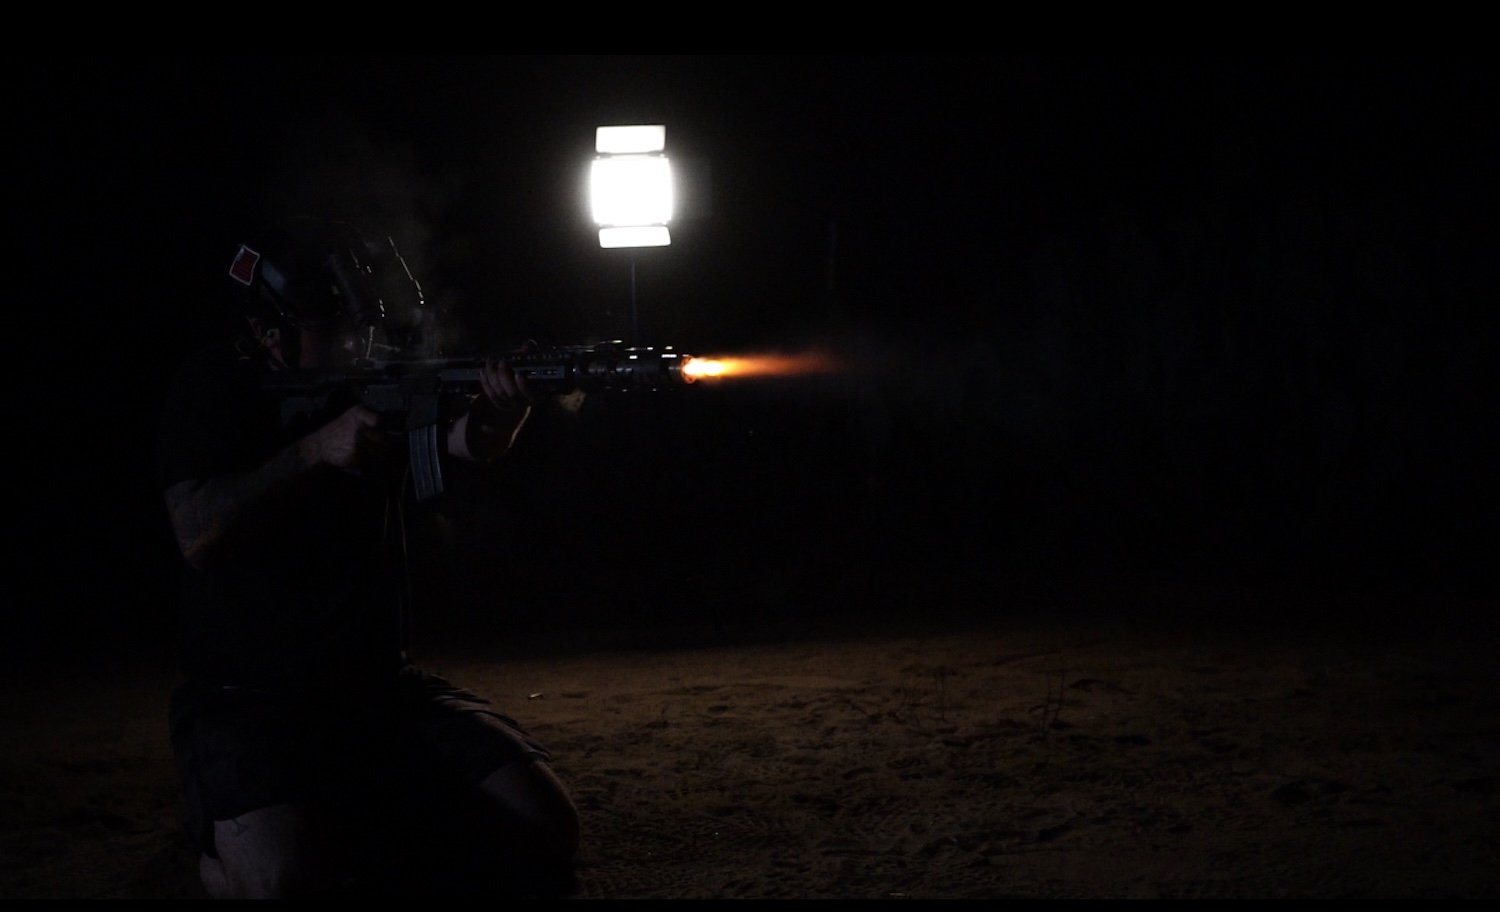
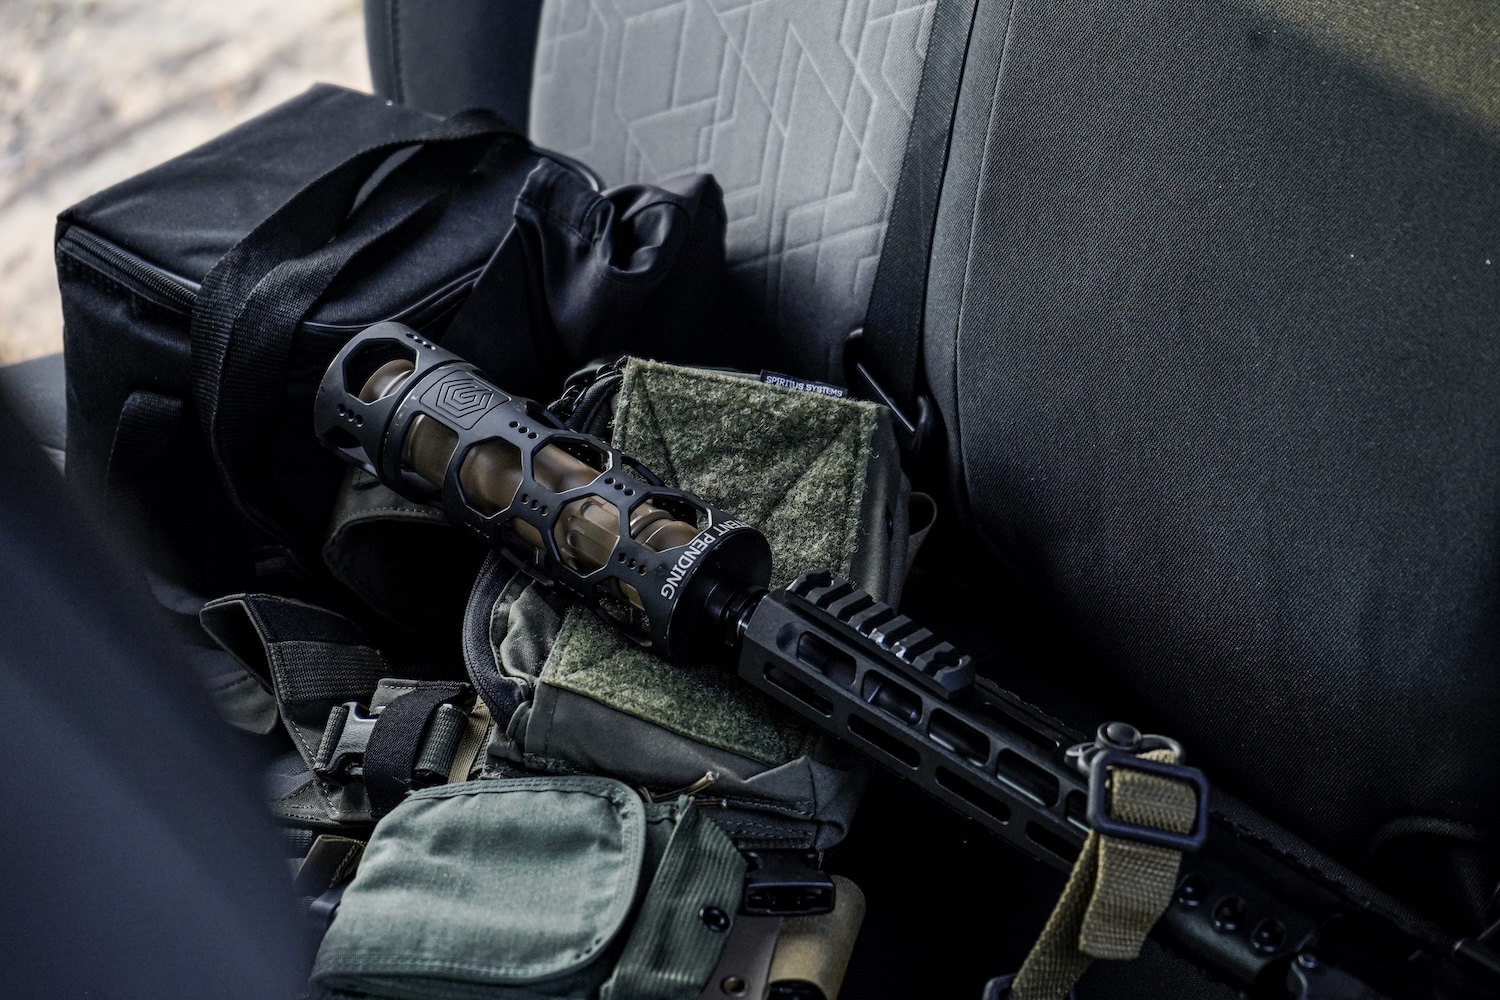
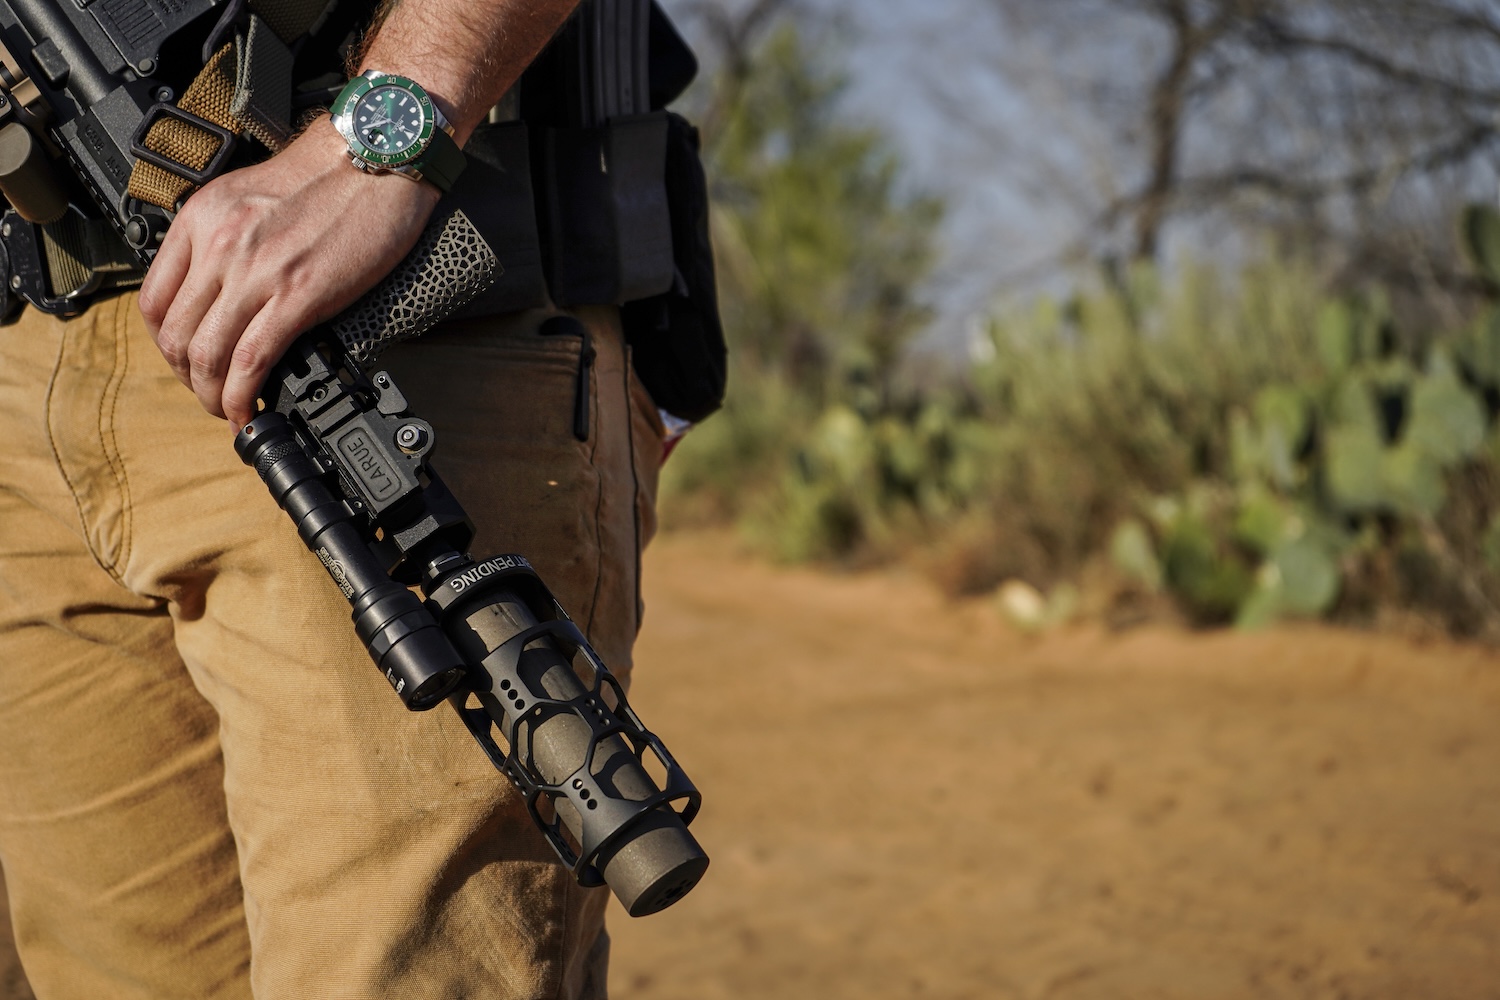
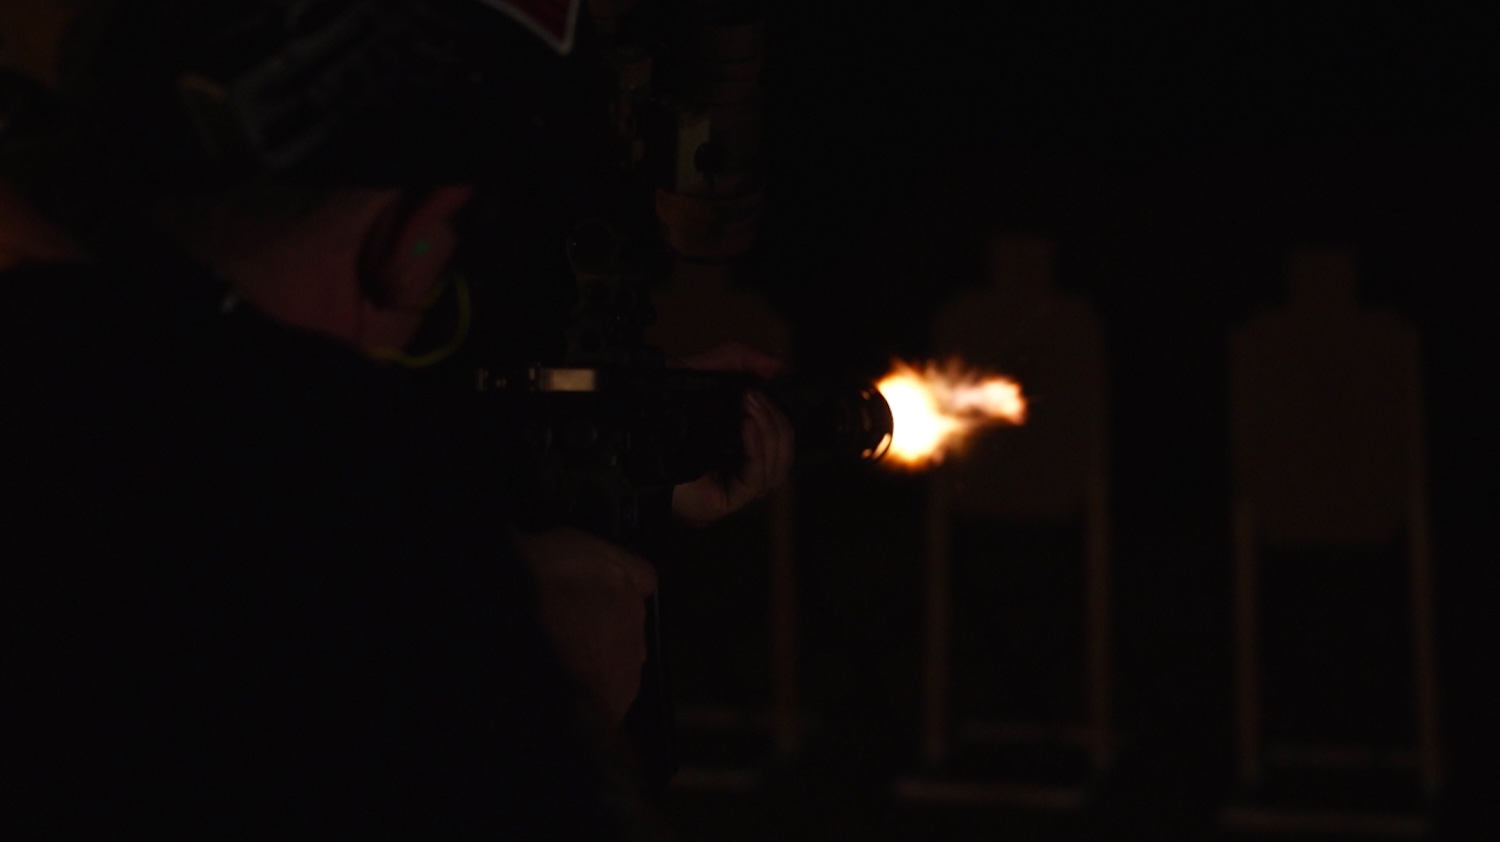
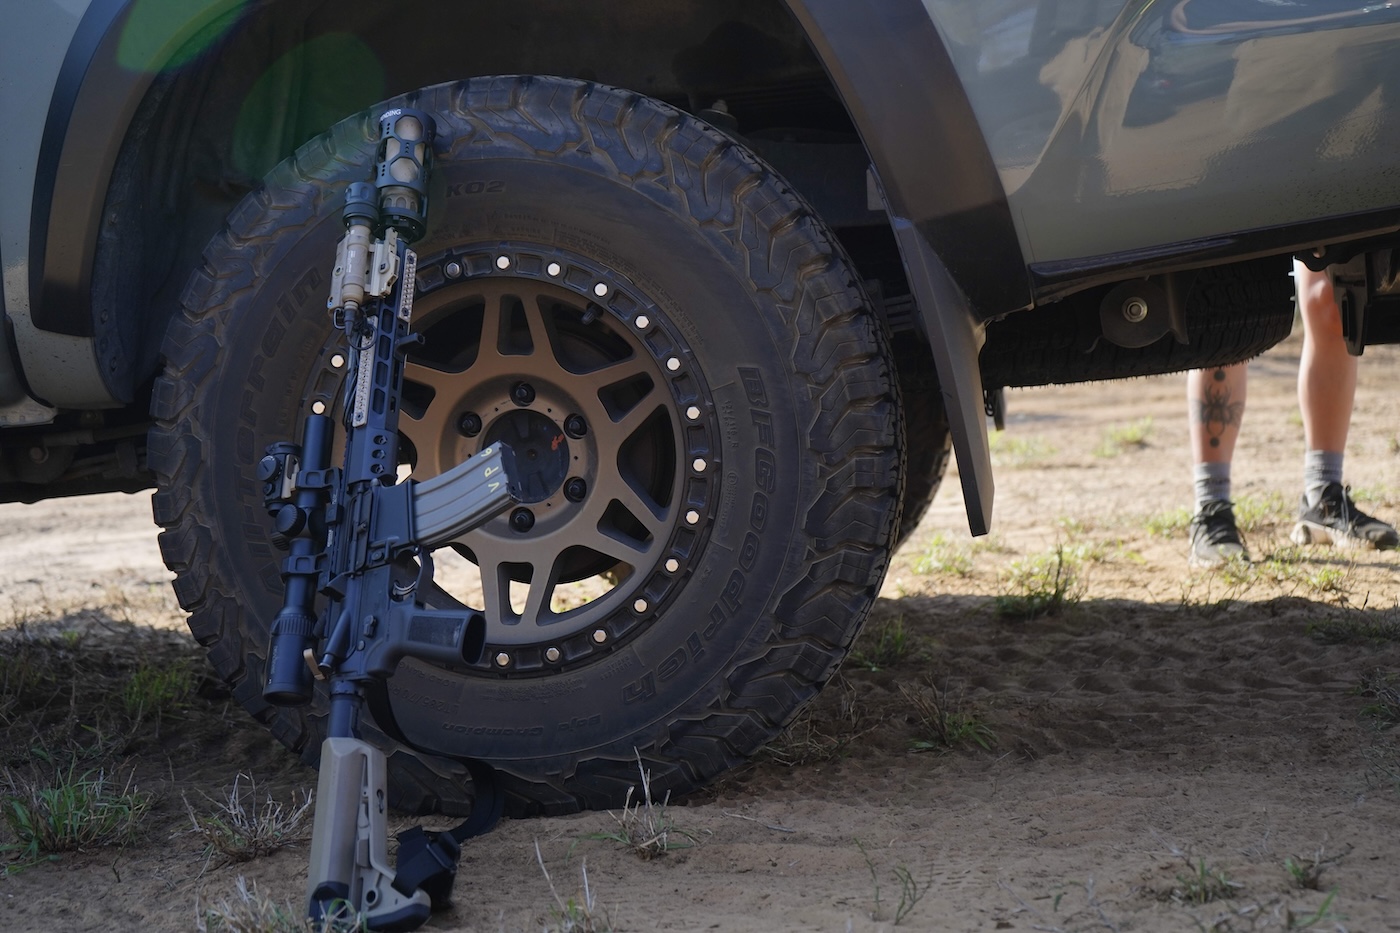
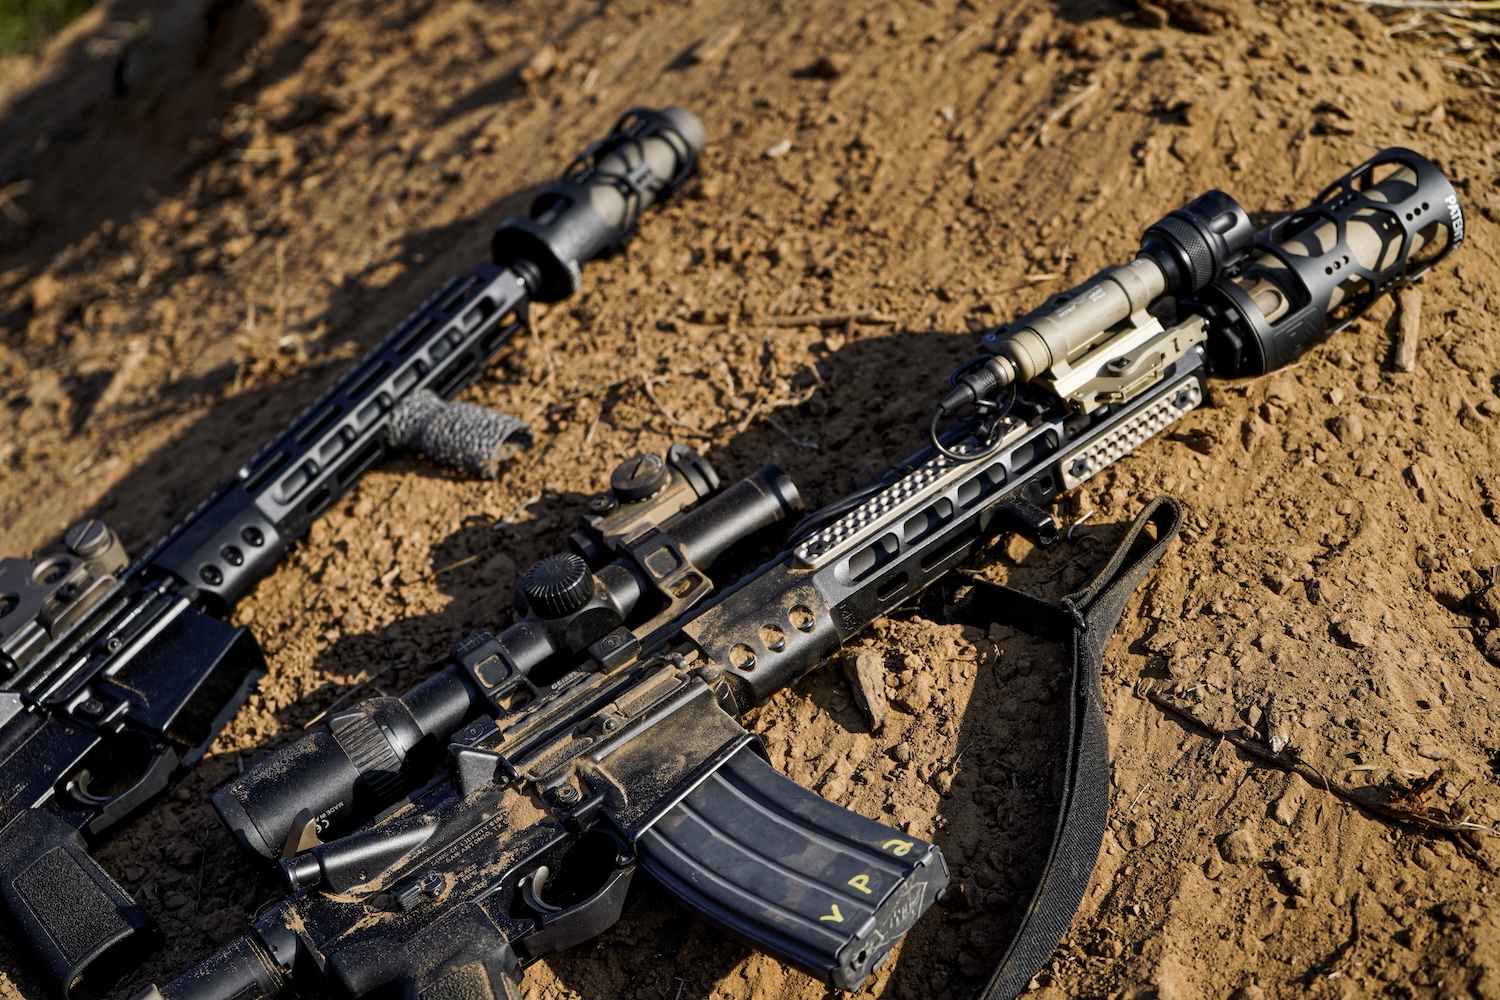
Gallery